

Earlier this year, Nintendo released its 9th generation gaming machine, the Nintendo Switch. I bought the product back in April 2017 and have been quite pleased with the versatility of the device, which allows me to play it almost anywhere. It has three main play modes: TV mode, where the console is docked and displays content to your TV; handheld mode, where the controllers snap onto the two edges of the console to provide a play-mode where you’re holding the console; and tabletop mode, where you can place the console on a table, open an integrated stand on the back of the console, detach the controllers and play.
After taking the device abroad on holiday, I quickly found that I had an issue with the tabletop mode. The integrated stand Nintendo supplied was not good enough for most surfaces I wish to place the device on. The device would frequently fall, and any stable configuration had terrible viewing angles. Here is the problem demonstrated in this video:
I looked for a third party solution, and purchased a stand which claimed to be compatible with the switch. However, I found that it was a just a re-branded generic phone holder. While it claimed to be compatible for the switch, it was clearly not designed for this device. For a start, it would cover the air vents at the back of the device. Secondly, the rubber holding mechanism was too small to hold the switch securely. Despite its small size, it was also still too bulky to fit into the travel case I use. Overall the build quality does not represent the price I paid for this stand, which could not hold the switch upright and level. As I was not satisfied with the result, I took to 3D printing as the solution. I started with a traditional design, just a basic shape that resembled a classic phone holder. However, I quickly realised that following this same design concept would have the same flaws as the third party accessory I had already purchased.
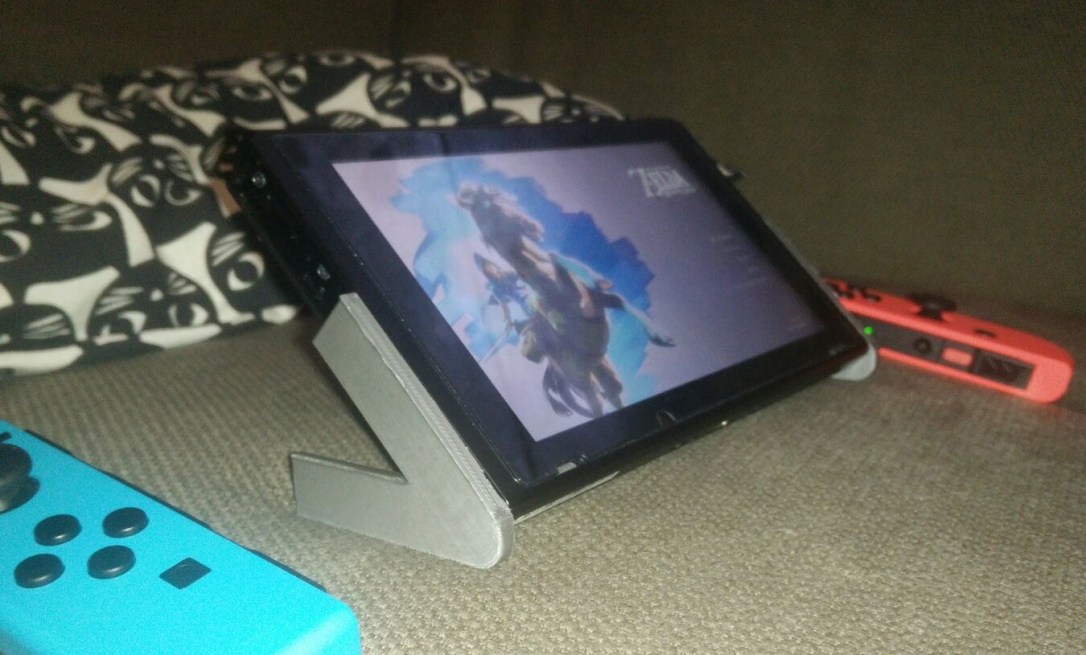
Having a brief look on thingverse, there were a few designs that caught my attention. I wanted the solution to be elegant and portable. I also did not want to raise my switch any higher than the default stand in case it fell. I settled on this design concept:
The design works by having its two components slot into the controller docks, making it perfect for tabletop mode. The design holds the switch at a 45-degree angle; however, it was still quite bulky to fit into the slimline case I have while travelling.
Using the existing Joycon holders was the perfect solution, but it needed to be slimmer. There was a second version of this stand, which was slimmer; however, due to the nature of 3D printing, two failed prints later, the design had to be tweaked to get better print results. This second version would also not allow me to plug in a charging cable into my device, which is a requirement that was added.
A third version was also available, which allows for the charger to be connected; however, this is an untested design, and was too big.
I settled on forking the second version, and adjusting the design to meet all of my requirements. The design tweaks allowed for an even slimmer version, that printed using less PLA than the second version, as well as the added benefit of allowing the console to charge using a third party charging cable which I also take with me when travelling.
A colleague of mine let me use their personal 3D printer. After putting the modified 3D model in the slicer, we selected 20% infill and set to print in PLA. Below is the time-lapse video of the successful print. This was achieved using a raspberry pi and a pi-camera taking a photo every 10 seconds.
After removing the support structure, the print would not fit into the slots without getting stuck. It was too tight. I had to sand down the sliding mechanism slightly so that they would fit into the Joycon slots. After sanding and regular insertions of the stand, it eventually loosened up enough to make applying and removing them quick and convenient on the go.
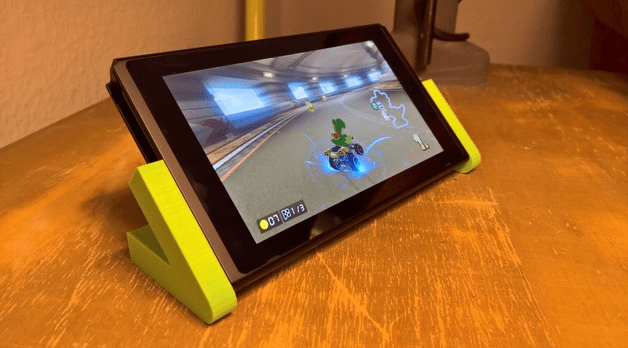
This is the final print attached to the switch.
Much better.
